Wednesday, January 11, 2012

Construction is slow until Friday, but I did manage to put together the first plated hull pieces and one bonus part:


Here is a picture of the same part from the bottom:

On the original model there is a gaping hole in the front of the ship which I am not to fond of:


It looks like they just gave up or left ten pages out of the instruction manual. Out of the entire model, this is the one part that takes away from the "realism." I decided to fix this by adding two sections of my own with some black parts I had laying around. I'm attaching one section to the bottom hull and another to the top. I left enough parts poking out that I can still attach some cable parts if I want later. Here is how the modified bottom section looks before and after:


Sunday, January 8, 2012

Second wing done!

Got the second wing done, which is a mirror image of the first except for one part. I decided not to do a step-by-step for this part and just get it done. Looks even better now! This thing is getting heavier too. It weights a good 5 to 6 pounds right now.


Saturday, January 7, 2012

Finally getting to the front wings!

 This is my favorite part even though there is a major structural defect in this stage. Adding this first wing makes it really look like the Falcon now.


This is the part I do not like. While the entire section attaches quite well, here is one part where it could have been better. The technic connector located by the flash flare is just resting between two  1x? bricks. It is not attached in any way. While it does provide a little support, I think a solid connection could have been better. I thought of using a Technic brick instead of a regular brick and putting a pin through it, but the holes do not line up.


Friday, January 6, 2012

Rear Engines!

This large strip is made up of nine components that connect with 1 x 2 hinge bricks. You can see the construction of the individual components below


This is the start of the second section which attaches to the above middle section.


 And now the third section from the middle.


And now part of the corner section:


This is what the completed strip looks like. AT this point the model is getting larger than the kitchen table I'm building it on.


This is a close up of the corner section of the engine strip:


And now it is attached to the main framework.


Here is one of the points it connects to the main frame with hinge bricks:


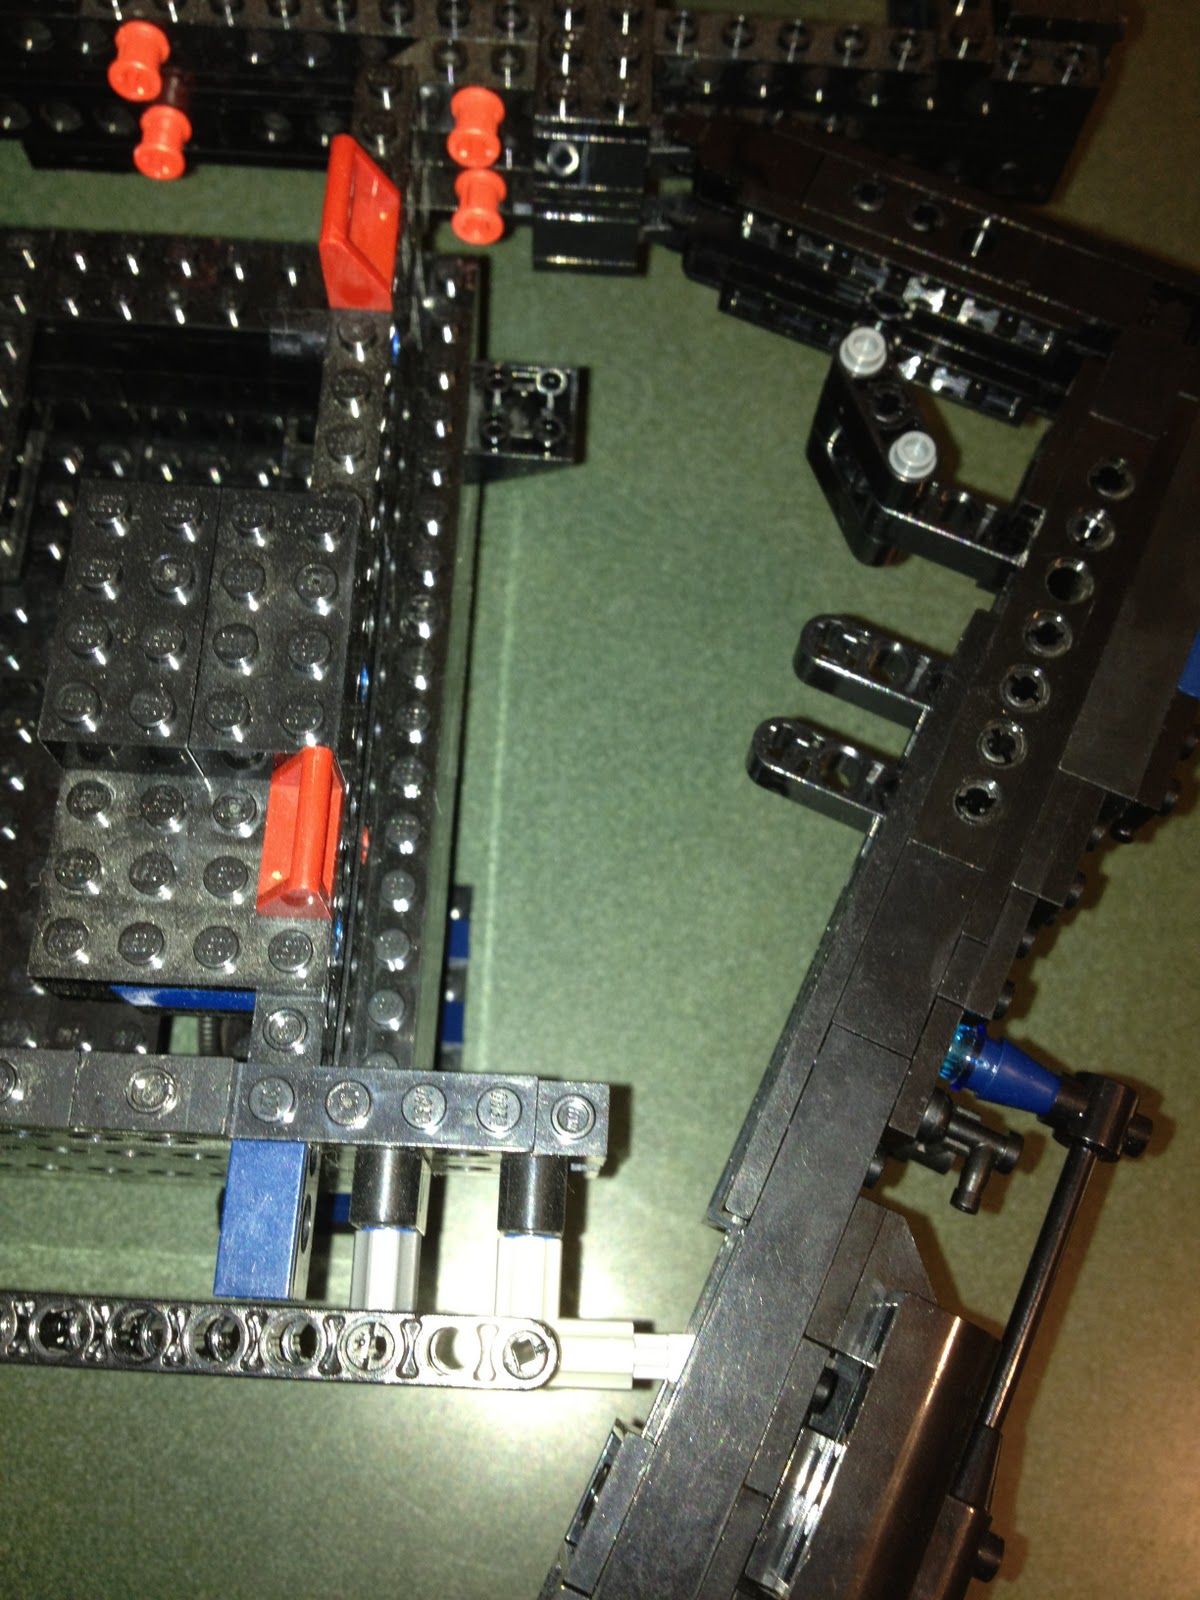
Harder to see from the glare, but the 2 x 7 lift arm parts connect to the frame here:


View from above where the strip connects to the end of the frame work.


And now with the boat rigging attached.